The Butternut Squash Hack: Effortlessly Cut & Roast for Culinary Perfection
Butternut squash, with its vibrant orange hue and delightful sweet-yet-savory flavor, is a true culinary gem, especially as the seasons change. It's incredibly versatile, starring in everything from comforting soups and hearty salads to delicious side dishes and main courses. However, for many home cooks, the thought of tackling its tough skin and unusual shape can be a significant deterrent. That intimidating exterior often means this nutritious vegetable stays on the grocery shelf rather than making it into our kitchens. But what if we told you there’s a simple kitchen hack cut roast butternut squash enthusiasts swear by, turning this daunting task into an absolute breeze?
You no longer need to fear that hard, smooth skin or struggle with an unstable squash on your cutting board. We're about to unveil a game-changing method that will empower you to effortlessly peel, cut, and roast butternut squash, achieving perfectly caramelized results every single time. Get ready to transform your cooking routine and embrace the delicious potential of this fantastic gourd.
Mastering the Selection: Picking the Perfect Butternut Squash
Before you even think about cutting, the journey to a perfect roasted butternut squash begins at the market. Selecting the right squash can significantly impact its flavor, texture, and even how easily it yields to your knife. While most butternut squash is generally quite good, a truly ripe and high-quality specimen will elevate your dish from good to extraordinary. Here’s what to look for:
- Skin Color and Finish: Seek out squash with a deep, uniform orangey-beige color. Avoid any squash with green patches, as this indicates it's under-ripe and won't be as sweet. The skin should also have a matte, dull finish, not glossy. A glossy sheen can sometimes suggest a younger squash or one that hasn't fully cured. Check for any soft spots, bruises, or cuts, which can lead to spoilage.
- Weight for Size: Pick up a few squash and compare their weights. A ripe butternut squash should feel surprisingly heavy for its size. This density is a sign of a high moisture content and rich, flavorful flesh. If a squash feels too light, it might be under-ripe or dry, resulting in a less vibrant taste and potentially stringier texture.
- Stem Condition: The stem is a crucial indicator of freshness. Look for a squash with a dark brown, firm stem still securely attached. If the stem is missing, withered, or moldy, it could mean the squash is past its prime or hasn't been stored correctly. A healthy stem helps prevent moisture loss and spoilage.
Once you've selected your perfect butternut squash, store it in a cool, dark place, away from direct sunlight, where it can last for weeks, sometimes even months, until you're ready to implement our cutting and roasting hack.
The Butternut Squash Hack: Prepping for Effortless Cutting
This is where the magic happens – the ultimate kitchen hack cut roast butternut squash enthusiasts have been waiting for. The primary challenge with butternut squash is its tough, slippery skin. Our method addresses this directly, making the peeling and cutting process not just manageable, but surprisingly easy and safe.
- Rinse and Dry: Start by giving your squash a gentle rinse under cool water and a light scrub to remove any dirt. Pat it completely dry with a clean towel. A dry surface is crucial for safe knife handling.
- The Microwave Softening Trick: This is the game-changer! Place your whole butternut squash in the microwave for 30 to 60 seconds (larger squash may need slightly longer, up to 1.5-2 minutes). The goal isn't to cook it, but simply to warm it up enough to soften the tough outer skin. This brief zap will make peeling and slicing dramatically easier by relaxing the pectin and fibers just beneath the surface.
- Trim the Ends: Place the now slightly softened squash on a sturdy, flat cutting board. Using a sharp chef’s knife, carefully slice off about a half-inch from both the stem end and the base. This creates two flat, stable surfaces, which are essential for safe cutting. Discard the trimmed ends.
- Peel with Ease: Now for the peeling! Thanks to the microwave hack, the skin will be much more compliant. We highly recommend a Y-shaped vegetable peeler for butternut squash due to its ergonomic design and wider blade, which makes it efficient for larger surfaces. Hold the squash firmly and peel downwards, away from your body, removing the tough outer skin. You'll notice how much less effort this requires compared to peeling a raw squash. Continue until all the tough skin is removed, revealing the bright orange flesh underneath.
- Halve Lengthwise: Stand the peeled squash upright on one of its flat, cut ends. Carefully slice it in half lengthwise, from top to bottom, using your chef’s knife. Take your time and use a gentle rocking motion with the knife if needed.
- Scoop Out Seeds: Once halved, you'll see the stringy pulp and seeds in the bulbous bottom section. Use a medium-sized spoon to scoop these out. They come away quite easily. Don't discard the seeds if you enjoy roasted pumpkin seeds; butternut squash seeds can be prepared and roasted in the same delicious way!
- Section for Easier Dicing: Lay your squash halves cut-side down on the cutting board. Slice each half crosswise, separating the narrower neck from the rounder, seed-cavity section. This gives you four more manageable pieces to work with.
- Slice into Strips: Take each of the four sections. Lay them flat and slice them lengthwise into approximately 1-inch thick planks or strips.
- Cube It Up: Stack a few strips at a time, lay them on their sides, and slice them into 1-inch long strips. Finally, take those stacks of strips and carefully slice them into uniform 1-inch by 1-inch cubes. Consistent cube size is key for even roasting.
Congratulations! You've successfully navigated the most challenging part of preparing butternut squash, all thanks to this simple yet effective Foolproof Guide: Pick, Peel, Cut, and Roast Butternut Squash. Now, you’re ready for the delicious part.
From Raw to Roasted: Achieving Golden-Brown Perfection
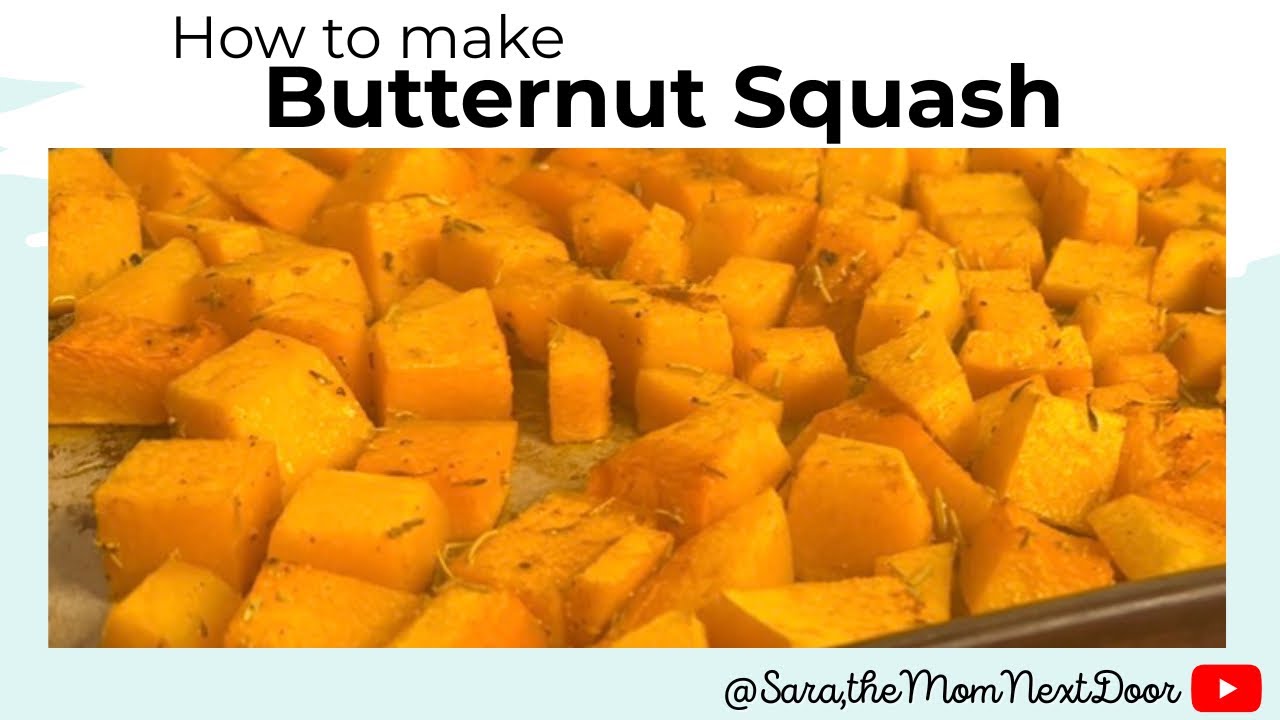
Roasting is arguably the best way to bring out the natural sweetness and develop complex, caramelized flavors in butternut squash. The high heat of the oven transforms the humble cubes into tender, golden-brown morsels with crispy edges.
- Preheat Your Oven: Preheat your oven to a robust 400°F (200°C). This higher temperature is crucial for encouraging proper caramelization (the Maillard reaction), which gives roasted vegetables their signature flavor and texture.
- Season Generously: Transfer your diced butternut squash to a large mixing bowl. Drizzle generously with olive oil (or avocado oil, which has a higher smoke point). The oil helps conduct heat, promotes browning, and prevents sticking.
- Spice Things Up: Now for the flavor! At a minimum, toss with a good pinch of sea salt and freshly ground black pepper. But don't stop there! Butternut squash is incredibly versatile and pairs well with a variety of seasonings.
- Sweet & Savory: Try a blend of cinnamon, nutmeg, a hint of brown sugar or maple syrup for a dessert-like quality.
- Herby & Earthy: Garlic powder, onion powder, dried thyme, rosemary, or sage work beautifully.
- Bold & Spicy: A dash of smoked paprika, chili powder, or even a pinch of cayenne can add a fantastic kick.
- Single Layer for Roasting: Spread the seasoned butternut squash in a single layer on a large baking sheet. Crucially, do not overcrowd the pan. If the squash is piled up, it will steam rather than roast, resulting in mushy instead of beautifully caramelized pieces. Use two baking sheets if necessary. For easy cleanup, you can line your baking sheets with parchment paper.
- Roast to Perfection: Place the baking sheet(s) in the preheated oven. Roast for 20-30 minutes, flipping the squash halfway through to ensure even browning on all sides. The exact time will depend on your oven and the size of your squash cubes.
- Check for Doneness: Your butternut squash is ready when it's fork-tender throughout and boasts beautifully caramelized, slightly browned edges. The aroma filling your kitchen will be another strong indicator!
And there you have it! Perfectly roasted butternut squash, achieved with minimal fuss. For even more expert tips on achieving the perfect roast every time, don't miss our Chef's Secrets: Perfectly Roasted Butternut Squash Every Time.
Beyond the Basics: Serving Suggestions & Flavor Pairings
Now that you've mastered the kitchen hack cut roast butternut squash method, the culinary possibilities are endless. Roasted butternut squash is fantastic on its own as a simple, healthy side dish, but its versatility truly shines when incorporated into other recipes.
- Side Dish Star: Simply serve hot, perhaps with a garnish of fresh herbs like parsley or chives.
- Salad Booster: Add warm or chilled roasted butternut squash to your favorite fall salads for an injection of sweetness, color, and texture. It pairs wonderfully with spinach, arugula, goat cheese, dried cranberries, and toasted nuts.
- Creamy Soups: Roast a larger batch, then blend it with vegetable broth, a touch of cream (or coconut milk for a dairy-free option), and your favorite aromatics like onion and garlic for a velvety, comforting soup.
- Hearty Grain Bowls: Combine roasted squash with quinoa, farro, or brown rice, along with roasted chicken or chickpeas, and a drizzle of tahini dressing for a wholesome meal.
- Pasta & Risotto: Fold roasted butternut squash into creamy risottos or pasta dishes for a burst of seasonal flavor.
- Breakfast Hash: Dice it smaller and mix with potatoes, onions, and bell peppers for a delicious and nutritious breakfast hash.
- Garnish & Topping: Use smaller pieces as a vibrant garnish for stews, curries, or even as a topping for savory tarts and pizzas.
Experiment with flavor pairings like a drizzle of maple syrup or balsamic glaze after roasting, a sprinkle of fresh sage, or a crumble of feta or goat cheese. The natural sweetness of the squash acts as a perfect canvas for both sweet and savory accompaniments.
No longer does the thought of preparing butternut squash need to fill you with dread. With this simple kitchen hack cut roast butternut squash guide, you're now equipped with the knowledge and confidence to transform this once intimidating vegetable into a regular, delightful star on your dinner table. From perfectly selecting your squash to employing the microwave softening trick and finally achieving that coveted golden-brown caramelization in the oven, you're set for success. Embrace the ease, savor the flavor, and enjoy the endless culinary possibilities this fantastic autumn staple has to offer!
